Oxylabs proxy settings
1.Download and install MuLogin. Newly register users can get 3 days free trial.
2. Open MuLogin client -> Add Browser -> Select operating system -> The system will randomly match the corresponding fingerprint information according to the operating system.
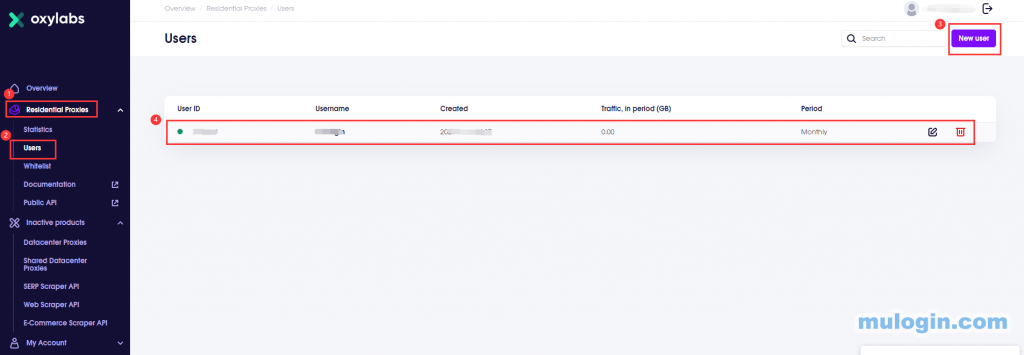
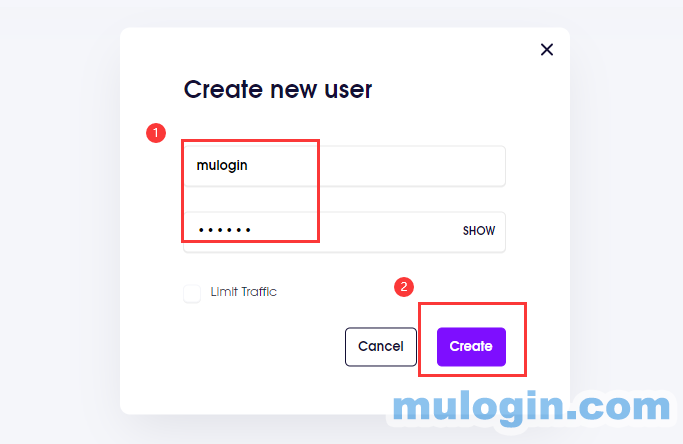
3. Open Oxylabs official website - > Login Oxylabs -> Residential proxies -> Users -> New user -> Create new user -> After setting the user name and password, click "Create" - > Finish.
Oxylabs coupon codes: MULOGIN20 (For details, please contact Oxylabs customer service)
Note: The created user name and password are the login user and login password that needed to be input in MuLogin.
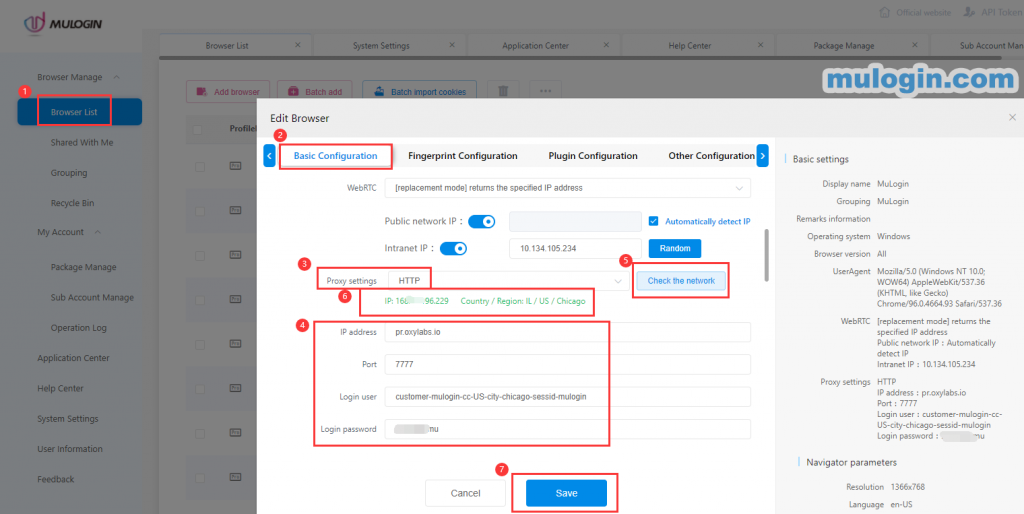
4. Choose HTTP proxy type, input “pr.oxylabs.io” in the IP address bar, fill in 7777 for port. Enter the created account username (the format is customer-username-cc-country-city-city-sessid-custom information) and password. Then click "Check the network". After successful test, the detailed IP and country information will be displayed. For specific setting method, you can also refer to the detailed settings on Oxylabs website.
Dynamic IP setting:
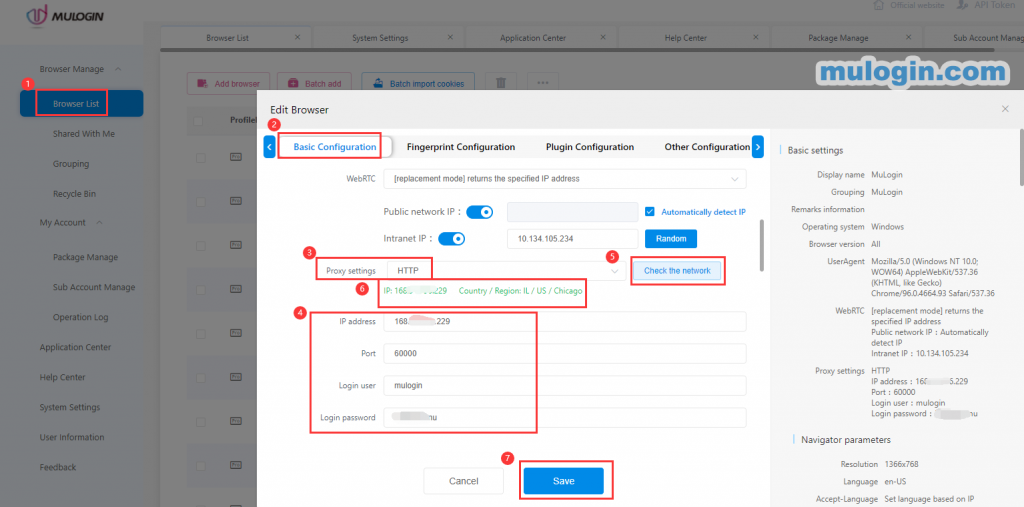
Static IP setting: Fill in “IP address”, “Port”, “Login user” and “Login password” directly. (You need to contact Oxylabs customer service to activate the stastic IP package).
Note: MuLogin does not provide IP proxy services, users need to buy from third-party platforms. Proxy-related tutorials are provided by third-party platforms and have nothing to do with MuLogin. Users are strictly prohibited from using this product to engage in any illegal and criminal activities, and users are responsible for any liability resulting from the use of this product.