Apollo proxy settings
Step 1. Get Apollo Proxy
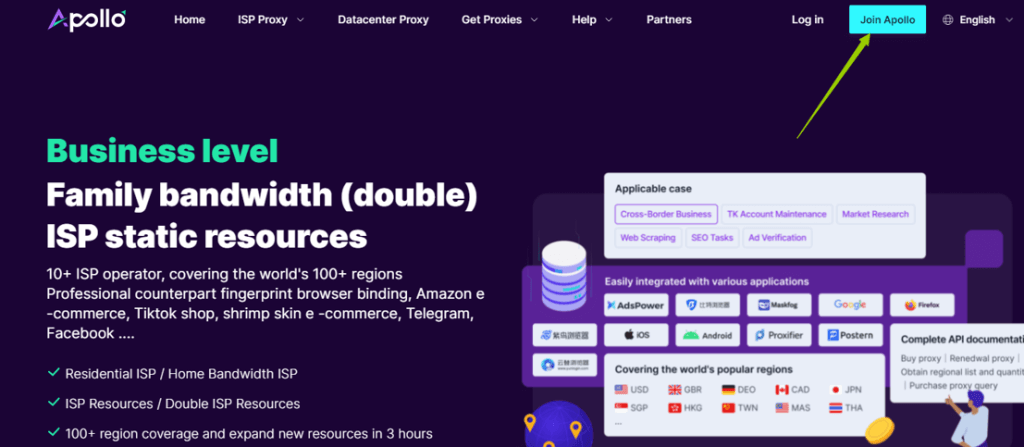
1.1 Enter the Apollo Proxy official website, register and log in to the account backend.
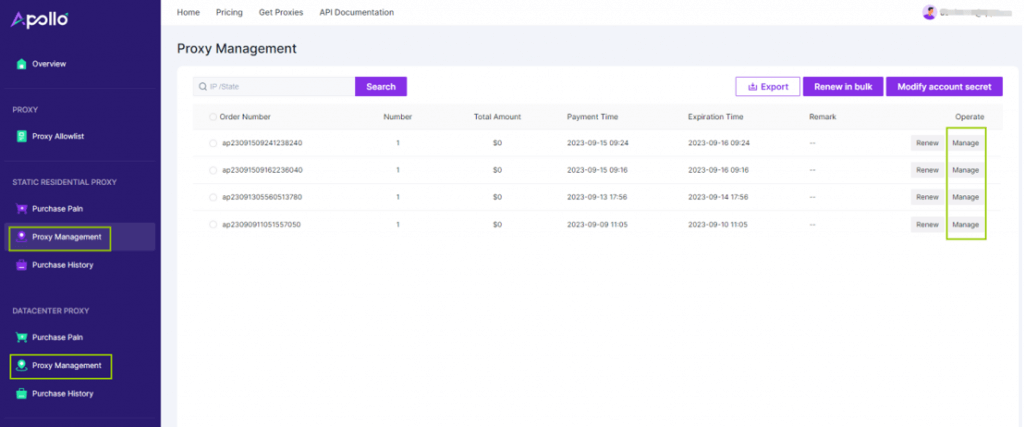
1.2 Enter the proxy backend and go to the static residential proxy/datacenter proxy "Porxy Management". Here you will see the proxy package you have purchased. Click on Manage and you will see the proxy details, keep this window open and proceed to the next step.

Step 2. Create a new configuration file and add Apollo Proxy
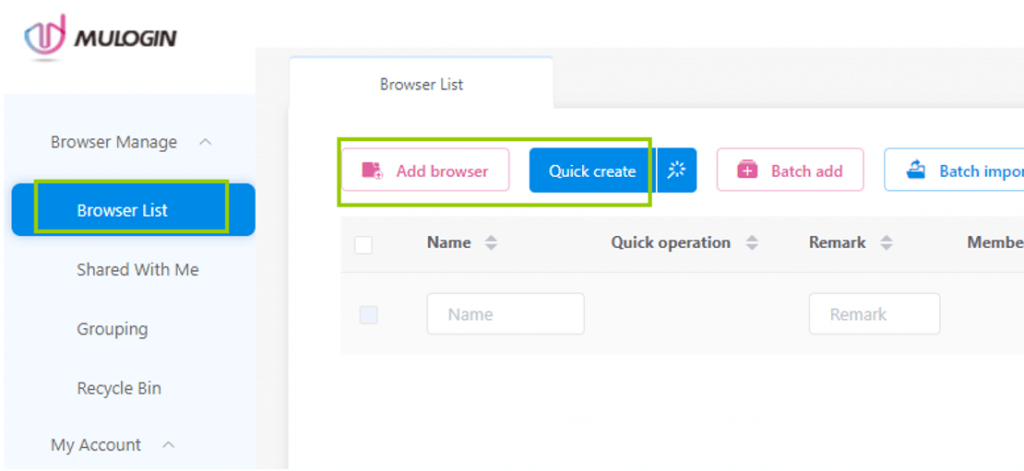
2.1 Open MuLogin client -> Browser Manage -> Browser List -> Add browser or Quikc creat to create a new browser configuration file
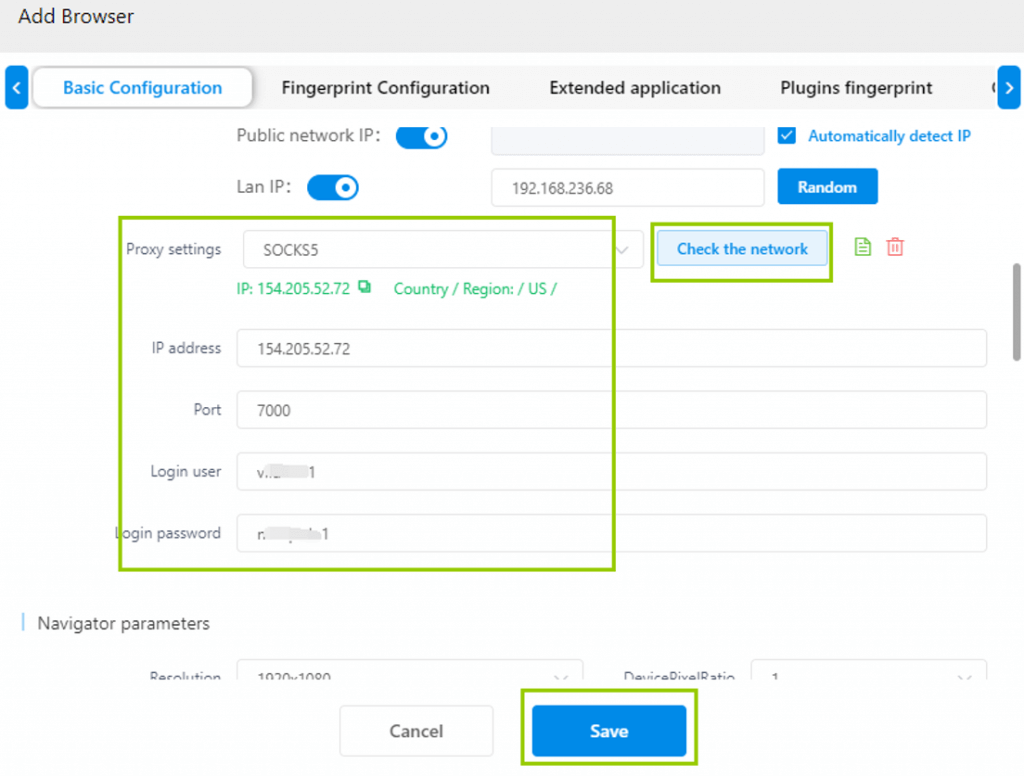
2.2 Proxy settings
2.2.1 Select proxy type: HTTP, HTTPS, Socks5
2.2.2 Fill in the IP address, port, login user, and password according to the prompts
2.2.3 After filling in, click "Check Network" to check whether the proxy can be used normally.
2.2.4 Click "Save" to complete the new browser environment.
Note: MuLogin does not provide IP proxy services, users need to buy from third-party platforms. Proxy-related tutorials are provided by third-party platforms and have nothing to do with MuLogin. Users are strictly prohibited from using this product to engage in any illegal and criminal activities, and users are responsible for any liability resulting from the use of this product.