Anonymous Proxies Settings
Step 1: Go To Anonymous Proxies Dashboard
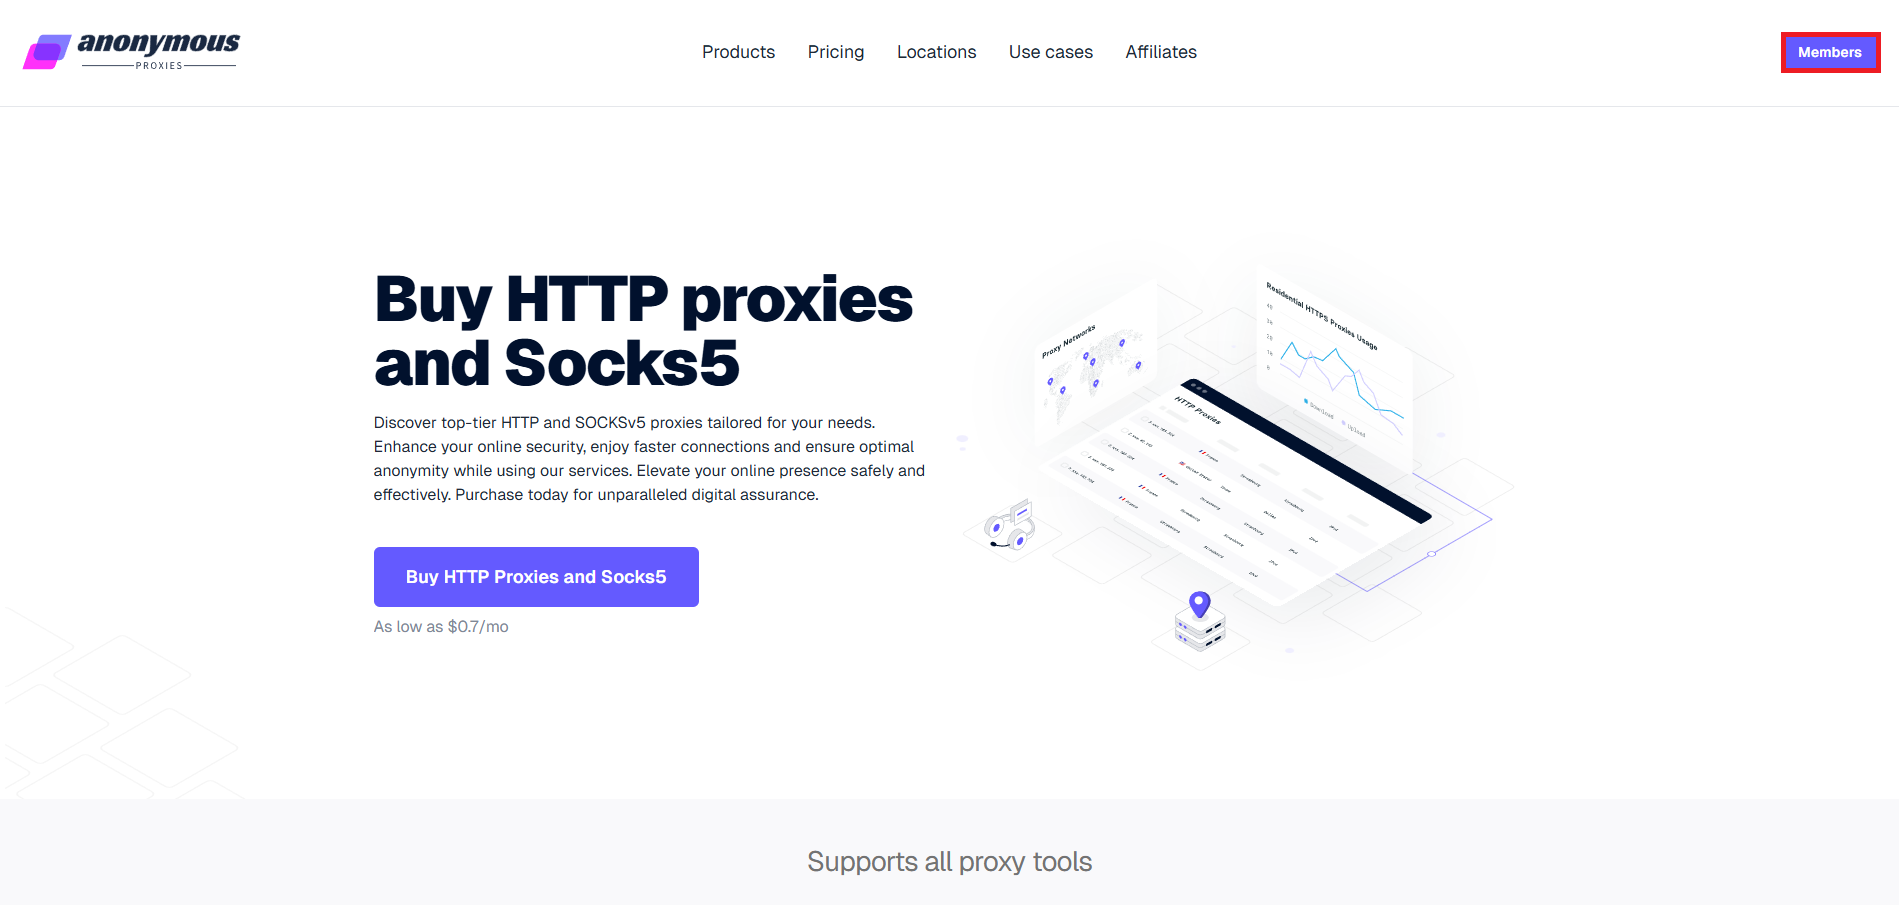
Open the "Members" area from the main site to access your account panel. (Get 15% OFF with code "mulogin")
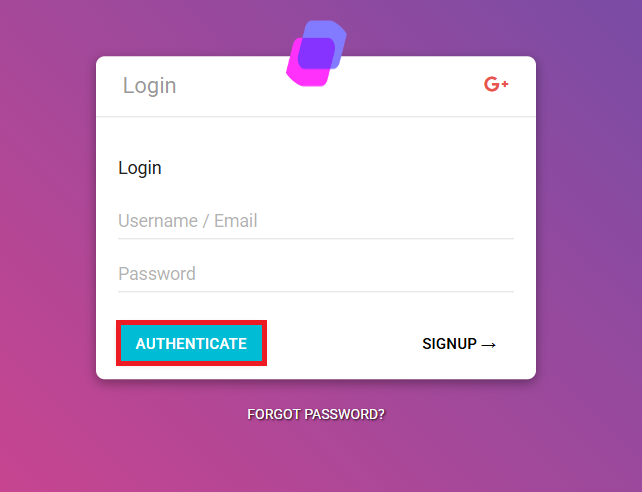
Step 2: Log In To The Anonymous Proxies Members Area
You'll need to enter your username and password, then click "Authenticate".
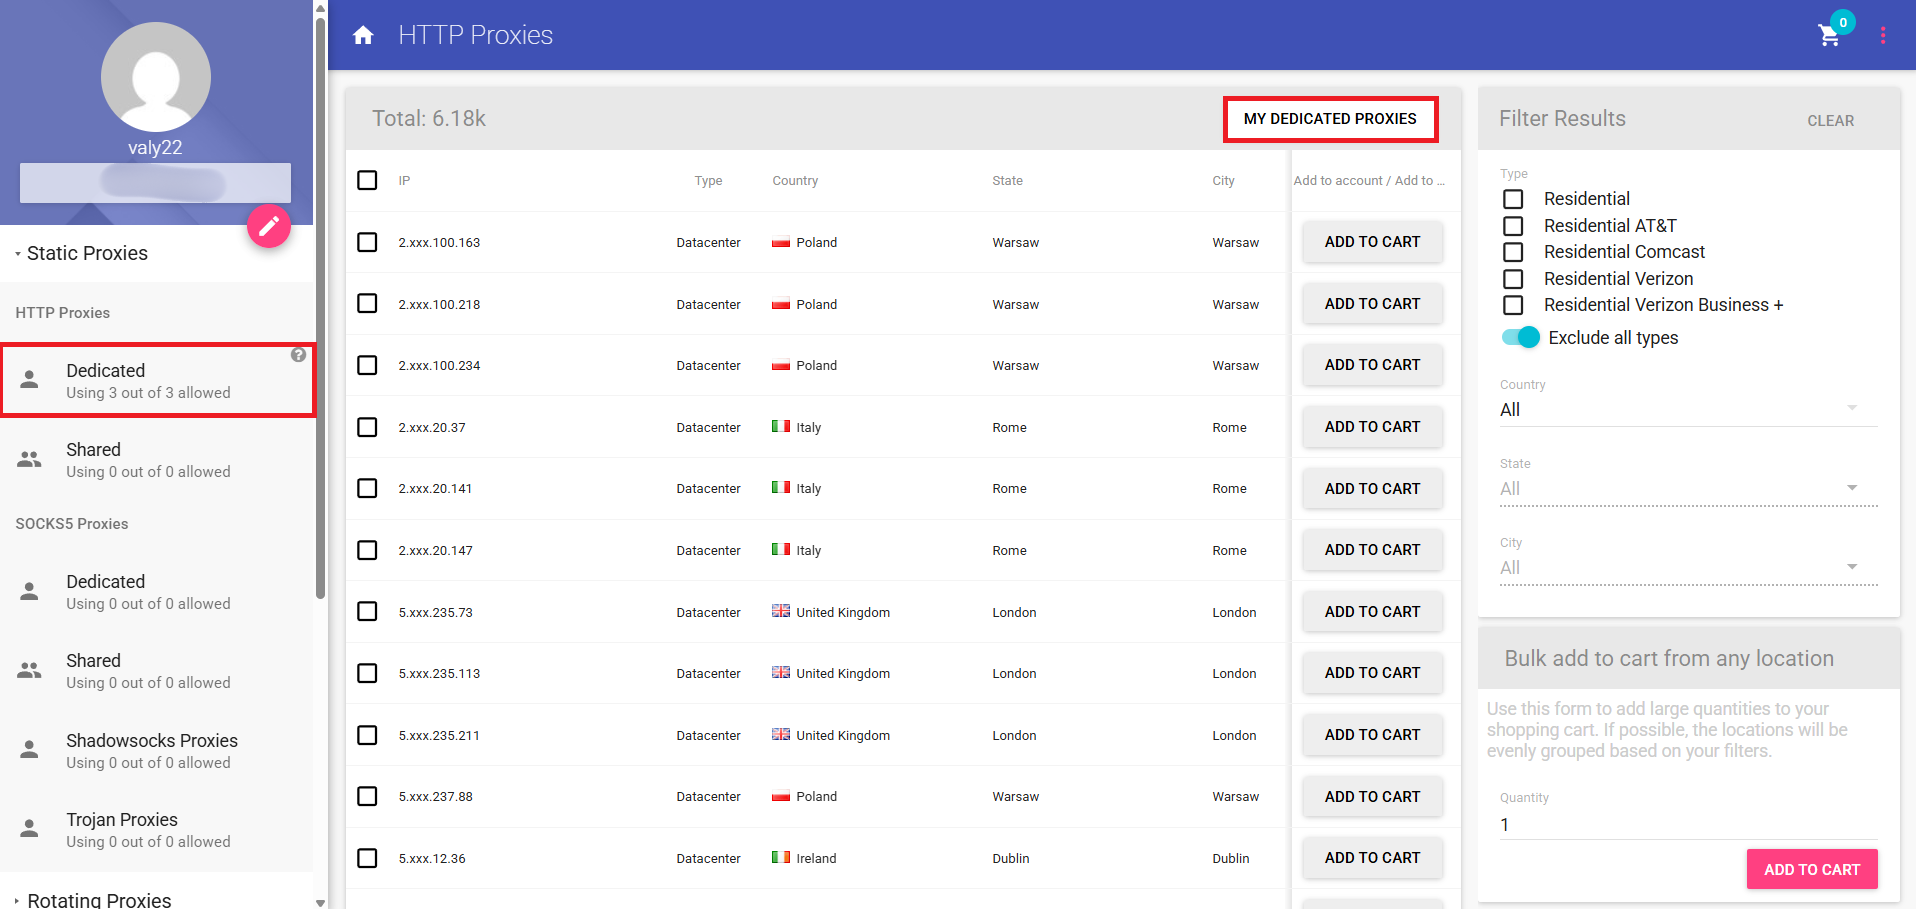
Step 3: Open Your Proxies List
When you are in the dashboard, go to "My Dedicated Proxies" to see the IPs available in your plan.
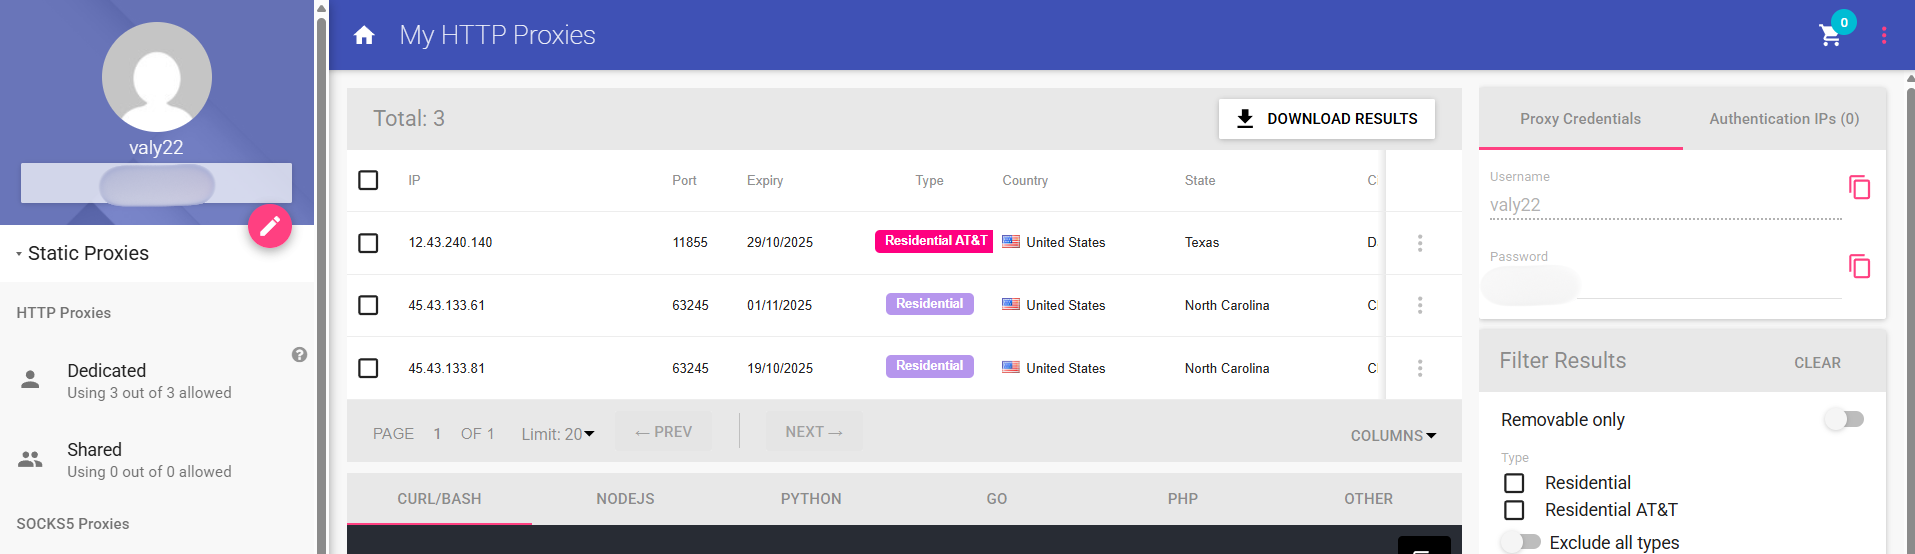
Step 4: View Proxy Details
On this page, you will be able to see all the details you need for the MuLogin broswer profile, for example, the proxy's IP address, port, username, and password. If you don't want to use authentication, you can even whitelist your IP directly from the dashboard by clicking on "Authentication IPs" and choosing your own IP.
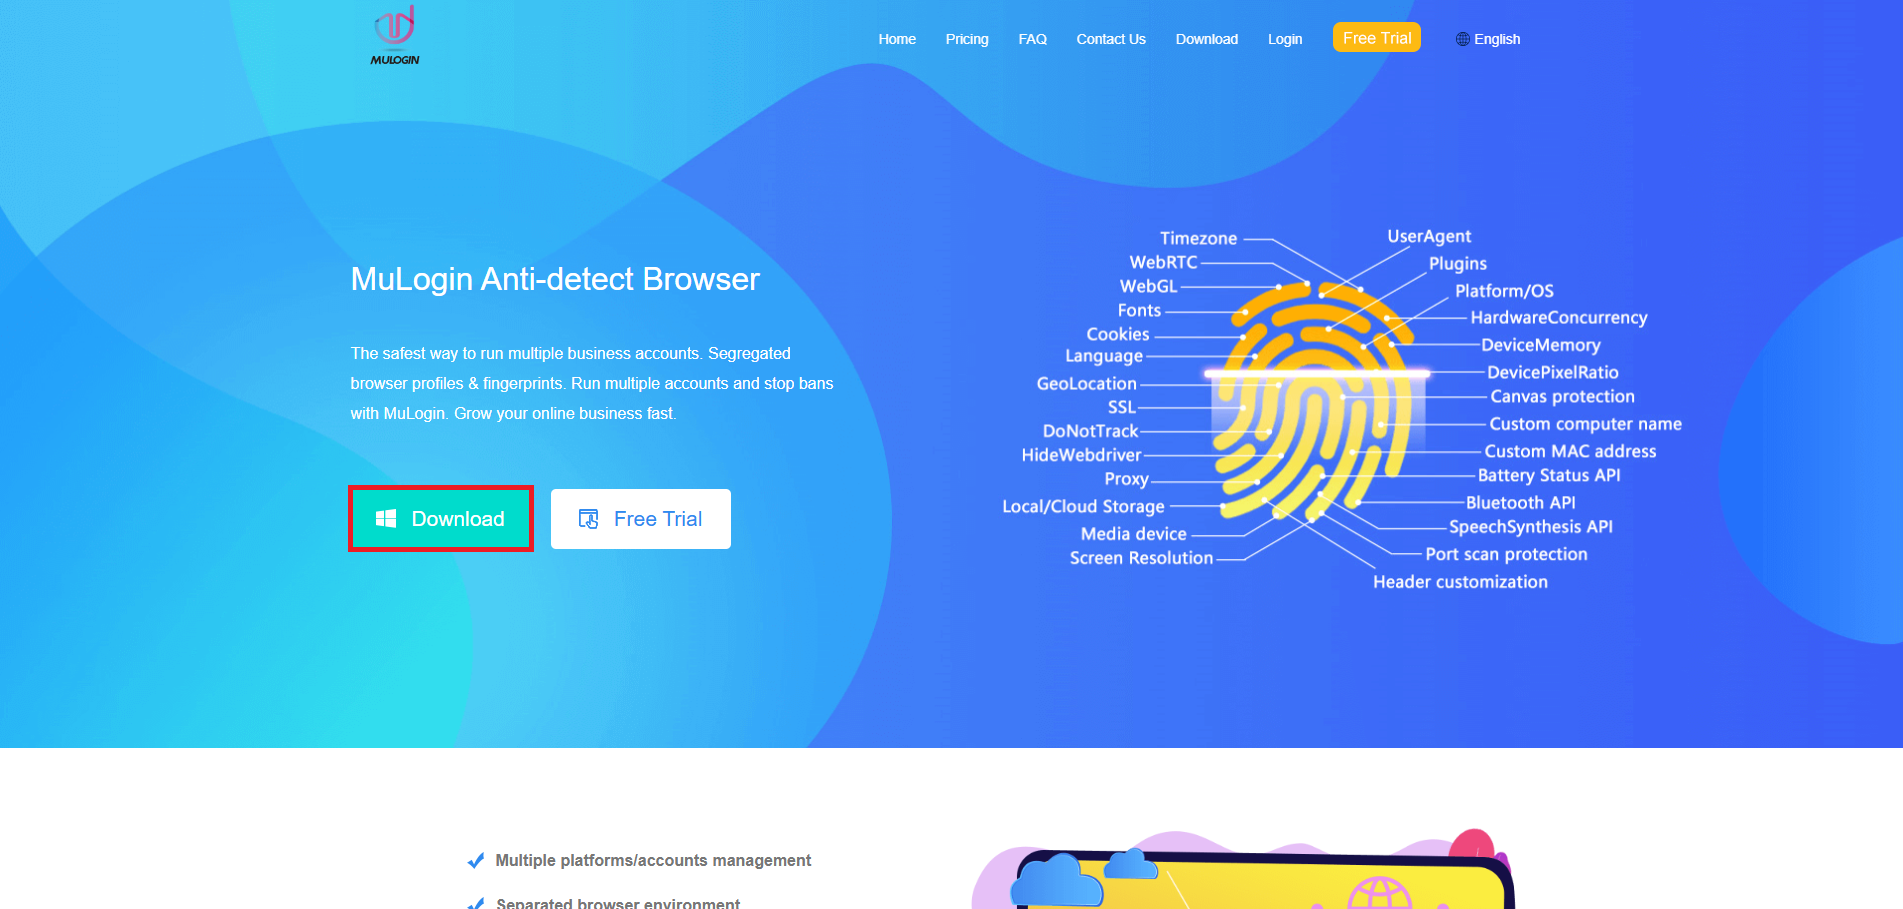
Step 5: Download MuLogin
First, you'll need to go to the MuLogin site, and download the application. (Support 3-day Trial)
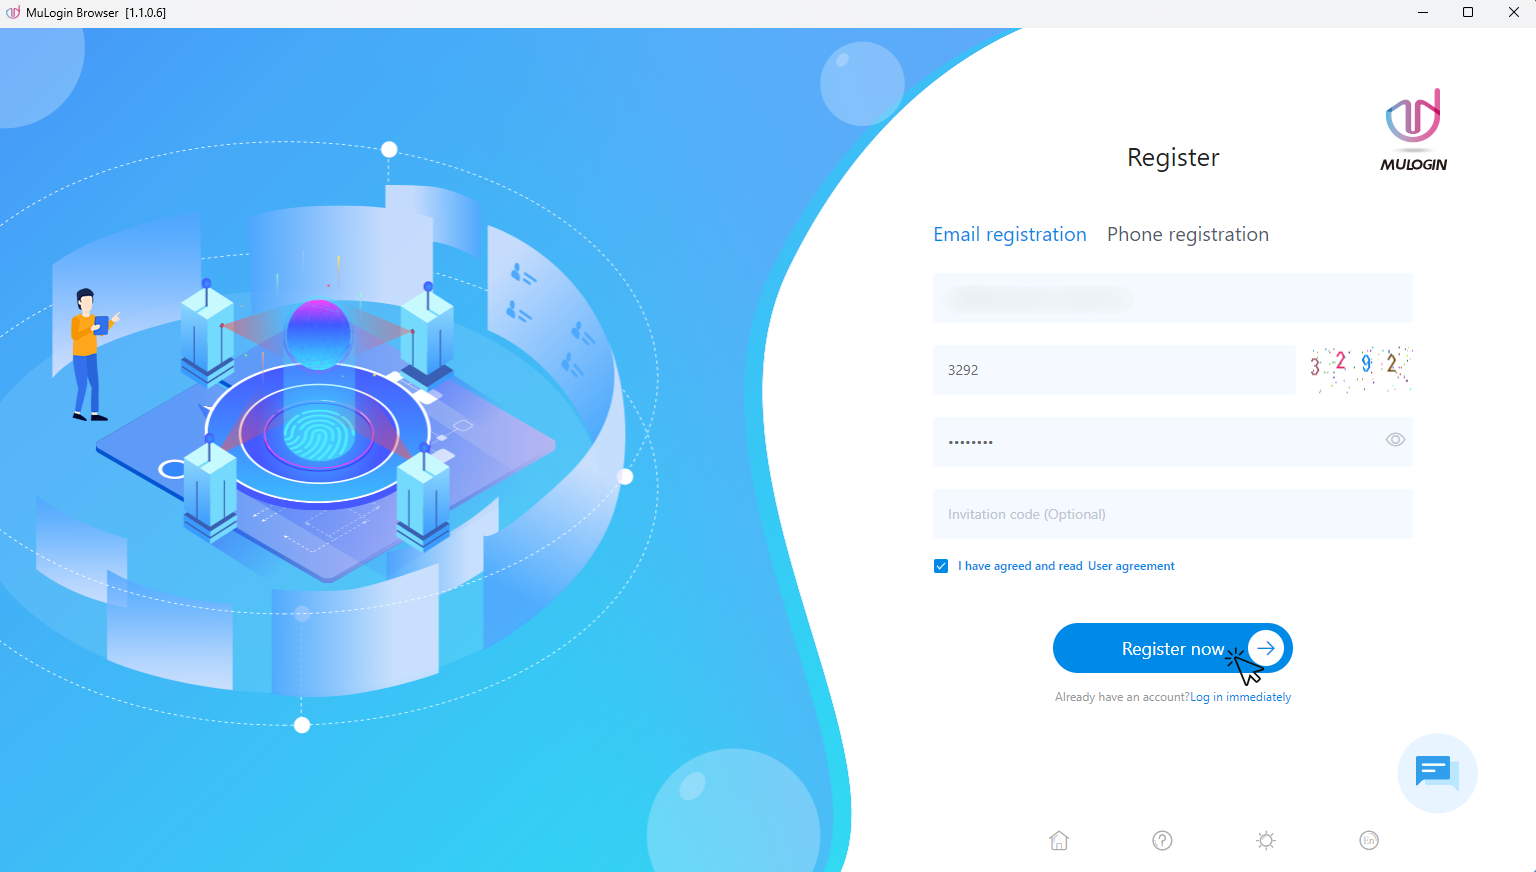
Step 6: Create an account
Once the download is finished, launch it and create an account on the Register screen if you don't have already an account or sign in with your existing credentials.
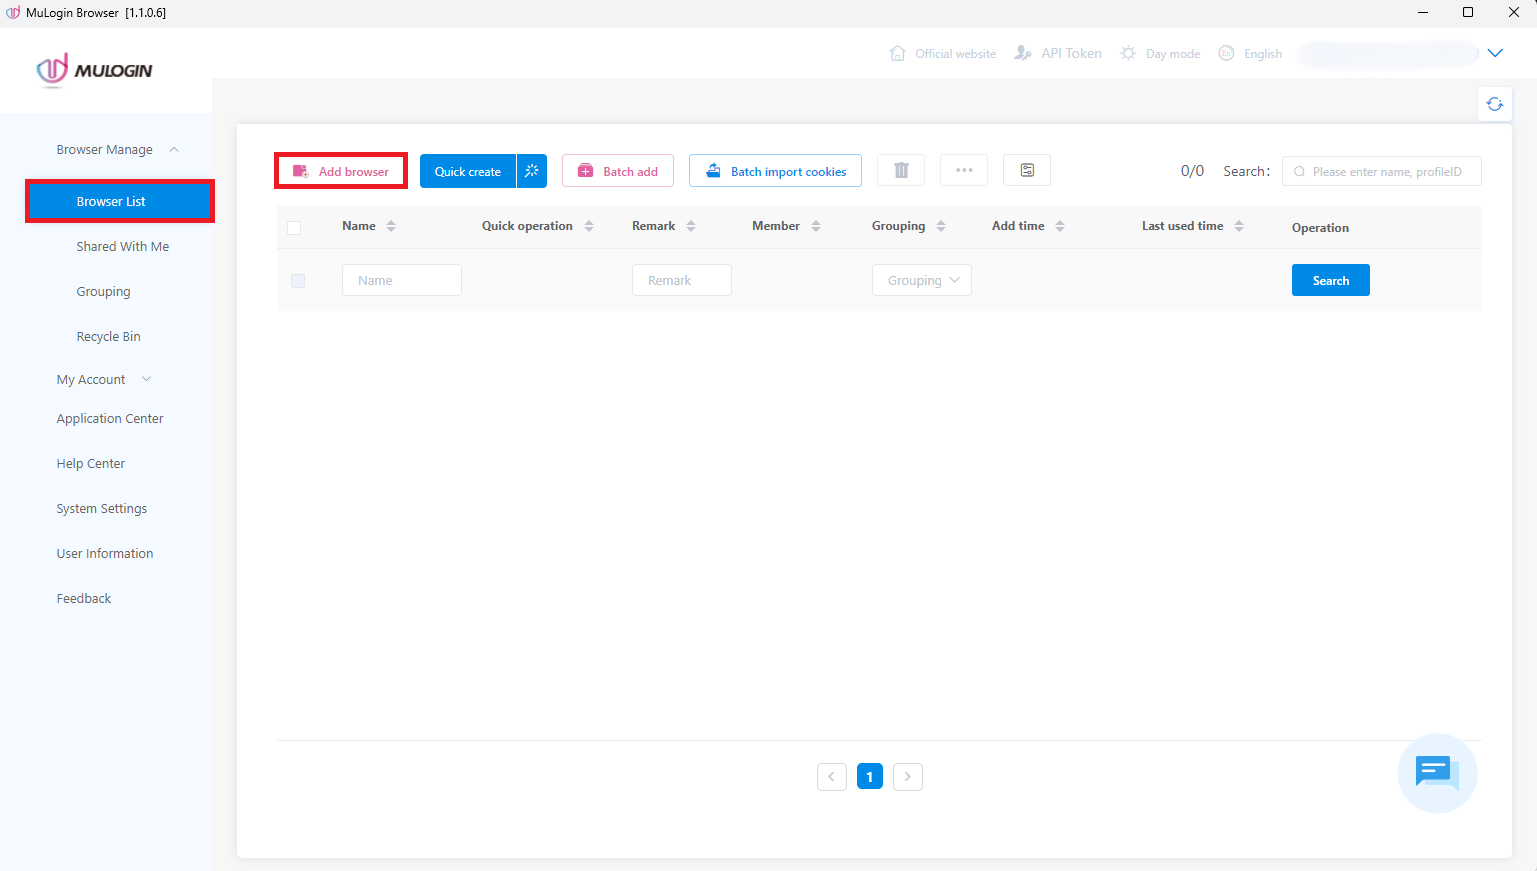
Step 7: Add browser profile
After you register, open the Browser Manage dropdown, click on Browser List, then click Add browser at the top.
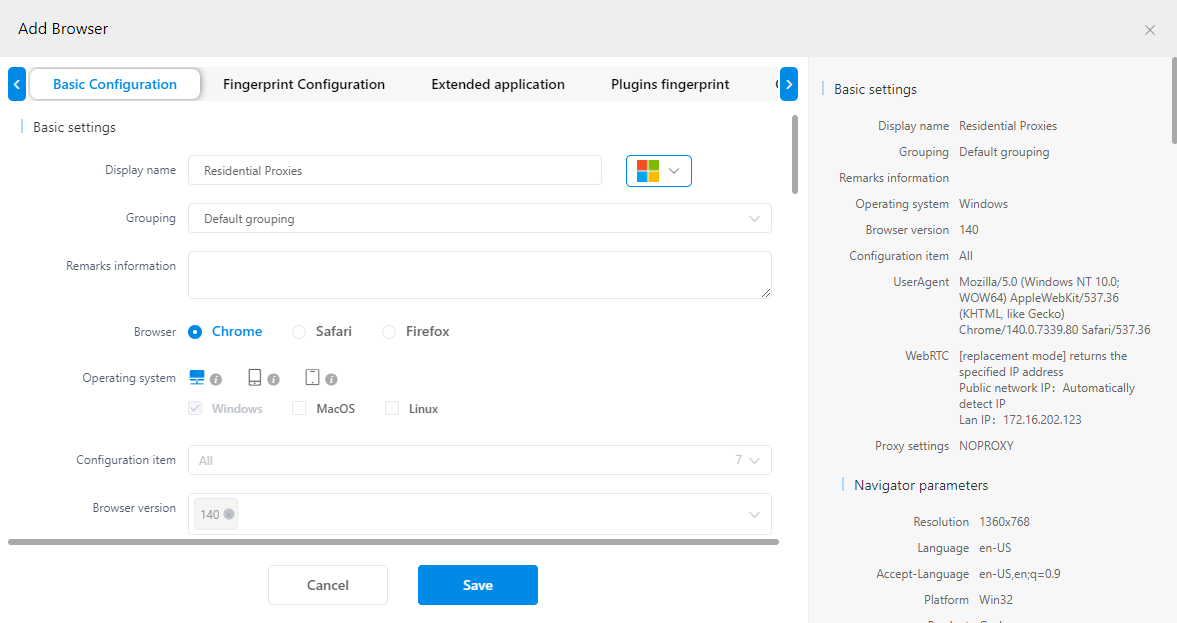
Step 8: Set basic profile details
In Basic configuration, add a clear Display name, pick your Browser core and Operating system, and keep the rest as needed.
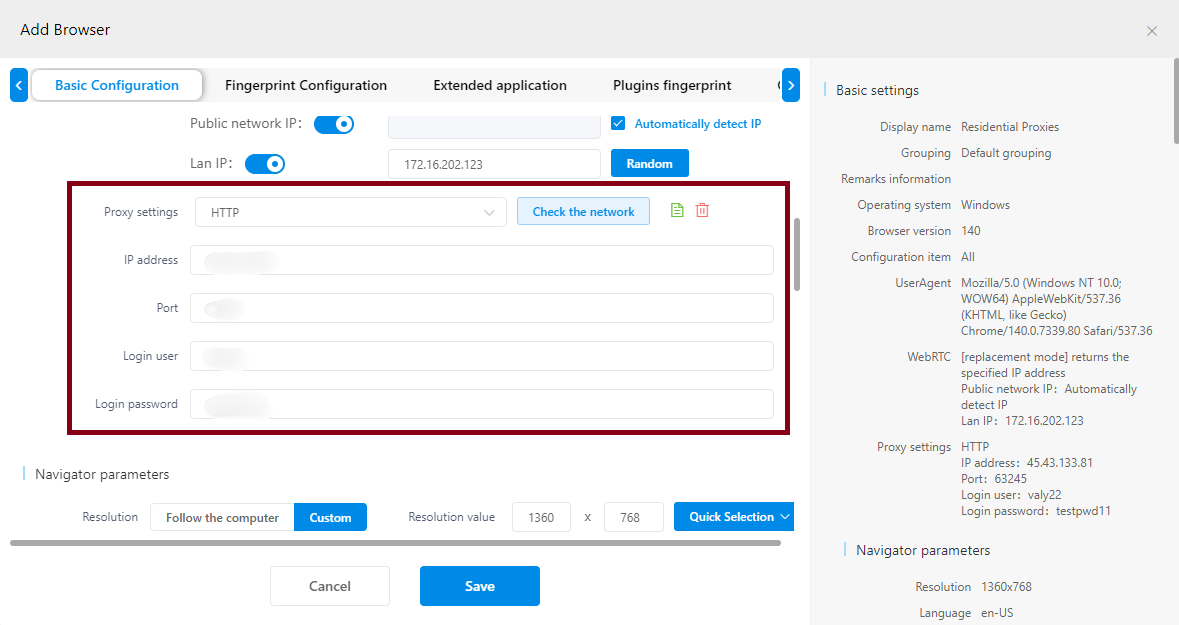
Step 9: Enter proxy credentials
After you named your profile and customized your browser based on your preferences, you'll need to scroll down to Proxy settings. Here, you'll need to choose the protocol you are going to use. We will use the HTTP protocol for a residential proxy. If you have a SOCKS5 proxy, choose SOCKS5. After you have picked the proper protocol, input the IP and Port information from your dashboard. The username and password fields are only required if your enabled authentication. Otherwise, if you whitelisted your IP, you can leave the login fields empty.
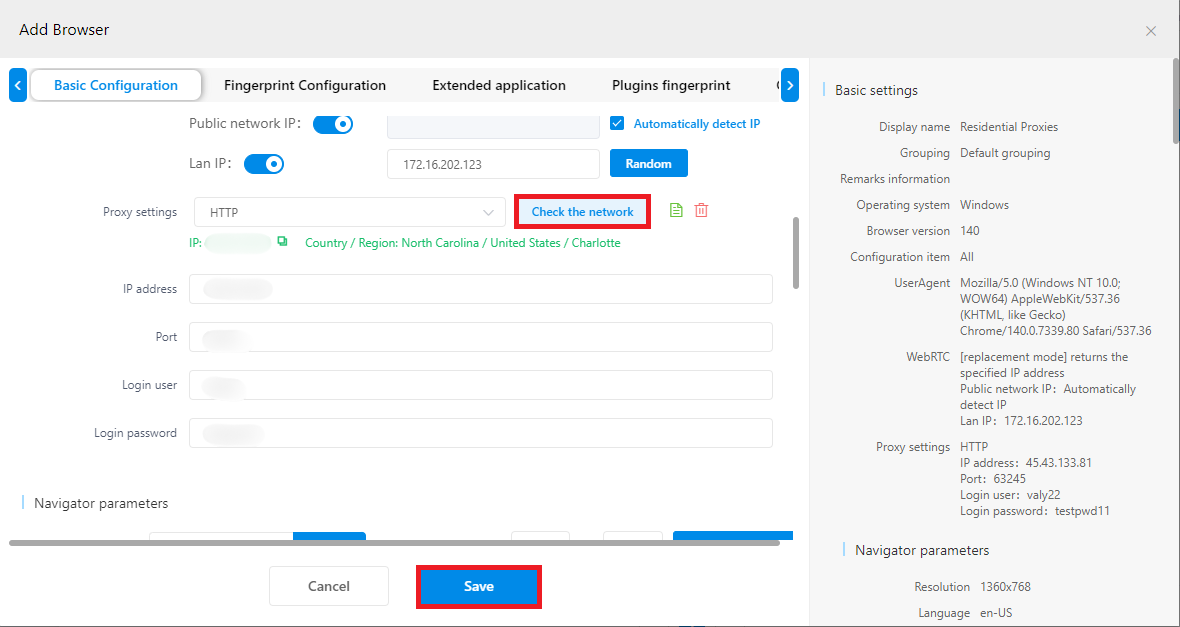
Step 10: Test and save
Once you entered all the of your proxy's credentials, click on Check the network to verify if your proxy's connection is working. When it passes, click Save.
Conclusion
That’s it! You’ve successfully connected your Anonymous Proxies’ residential proxies into MuLogin. Using this integration, you obtain the benefit of real-user IP reputation, cleaner account isolation, fewer verification loops, more stable sessions, and better geographical control, which is exactly what you need to run multi-account workflows confidently.
Note: MuLogin does not supply proxies; users must purchase them from external providers. All proxy setup instructions come from third-party services, not from MuLogin itself. Using this software for illegal or unlawful purposes is strictly forbidden, and users bear full responsibility for any consequences.