Ping Proxies Settings
Step 1: Set Up Your Ping Proxies
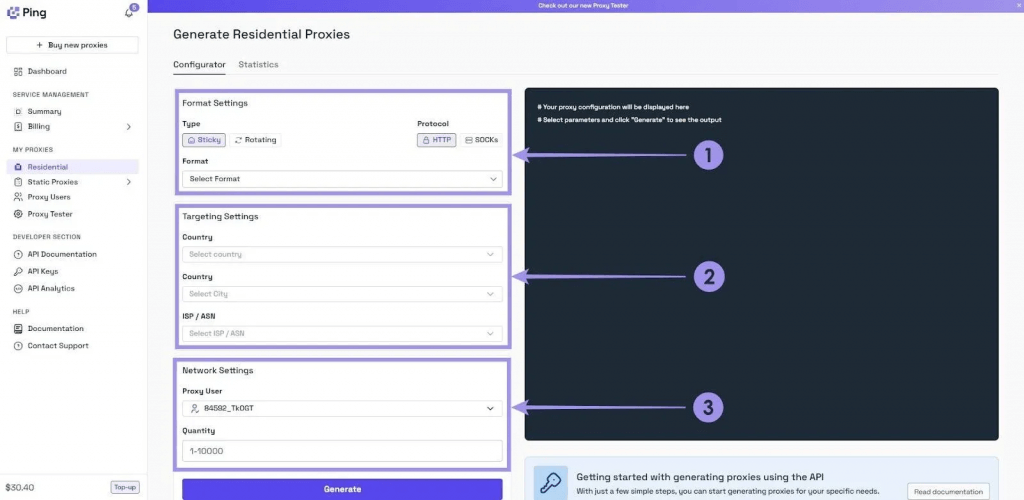
In your Ping Proxies dashboard, head over to the Residential subsection on the sidebar. Fill out the settings in the configurator and press the Generate button.
Copy your generated proxy username, password, and other credentials in the Proxy settings section.
Step 2: Download MuLogin
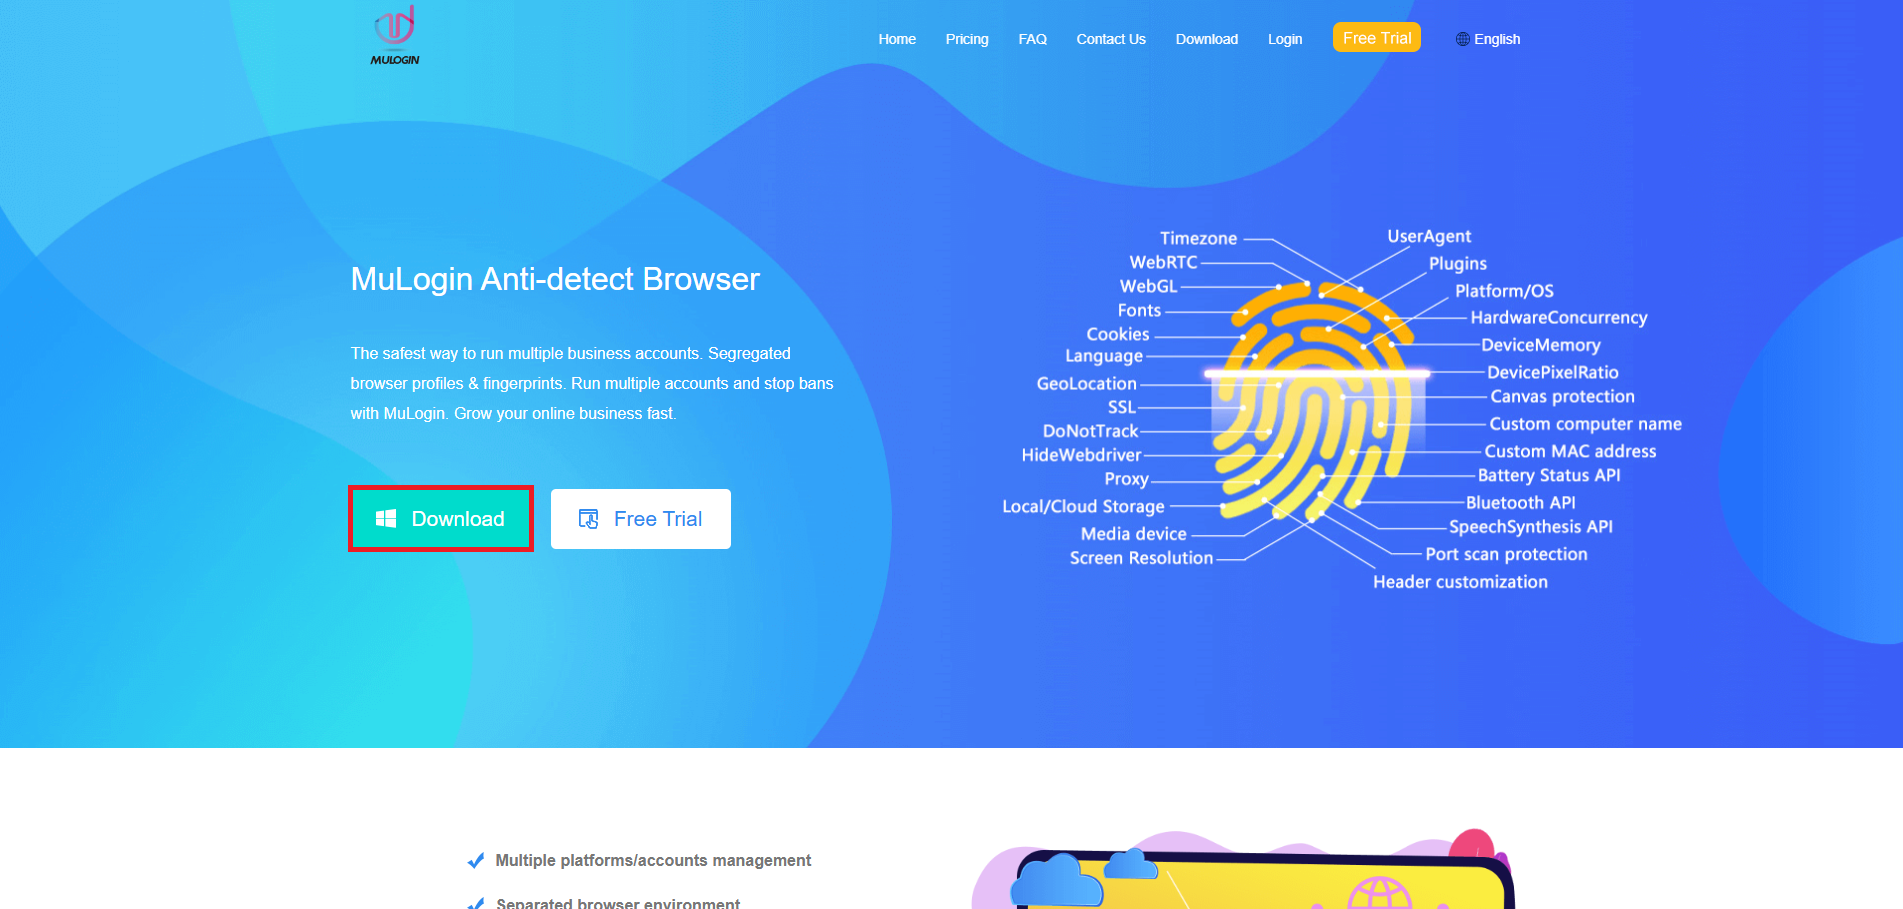
First, you'll need to go to the MuLogin site, and download the application. (Support 3-day Trial)
Step 3: Create an account
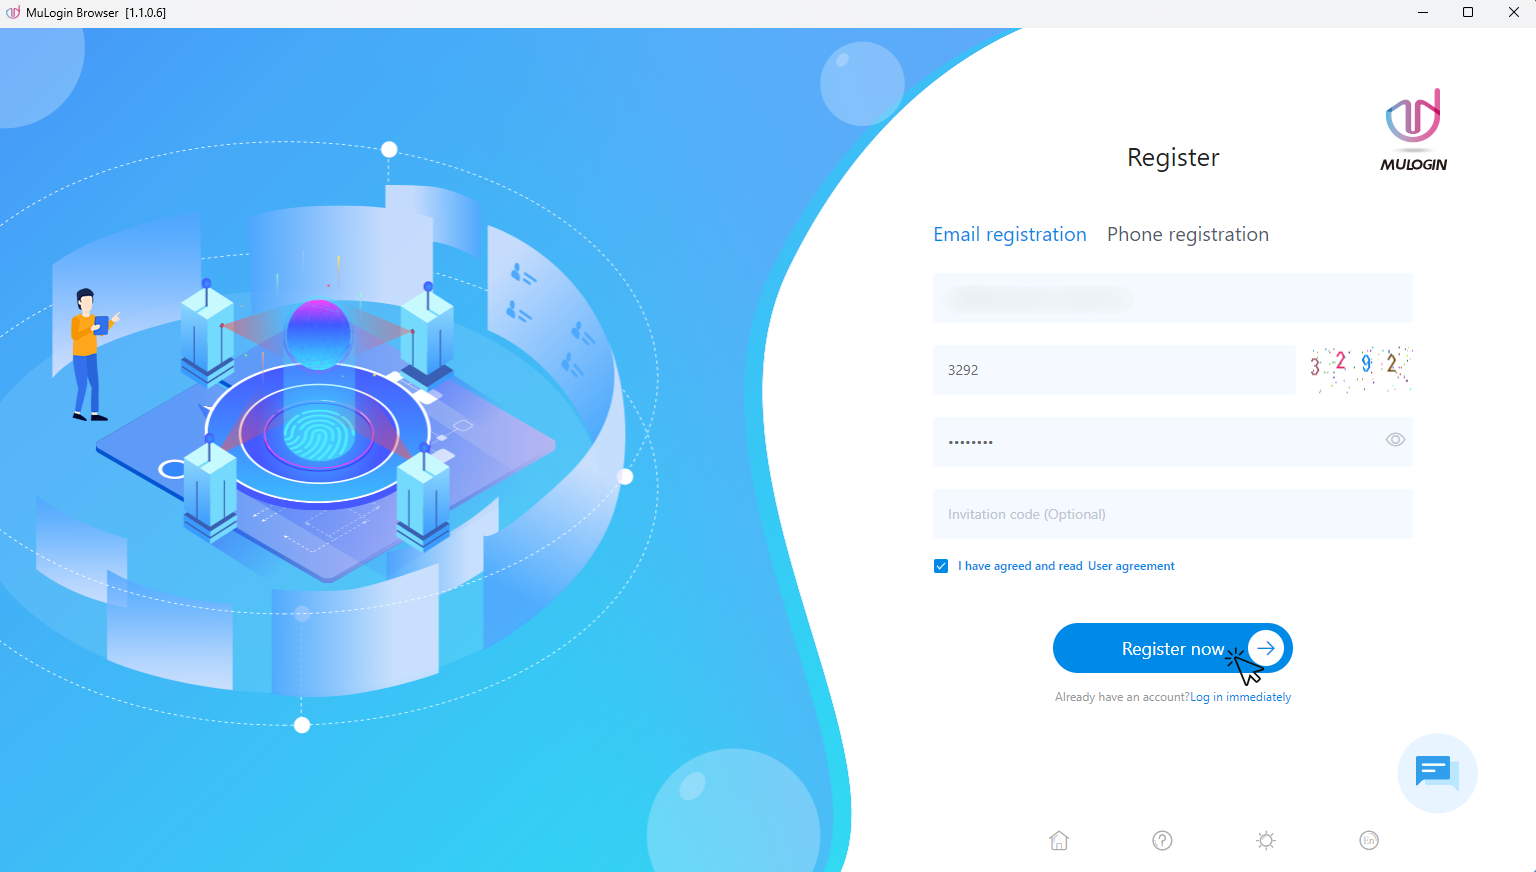
Once the download is finished, launch it and create an account on the Register screen if you don't have already an account or sign in with your existing credentials.
Step 4: Add browser profile
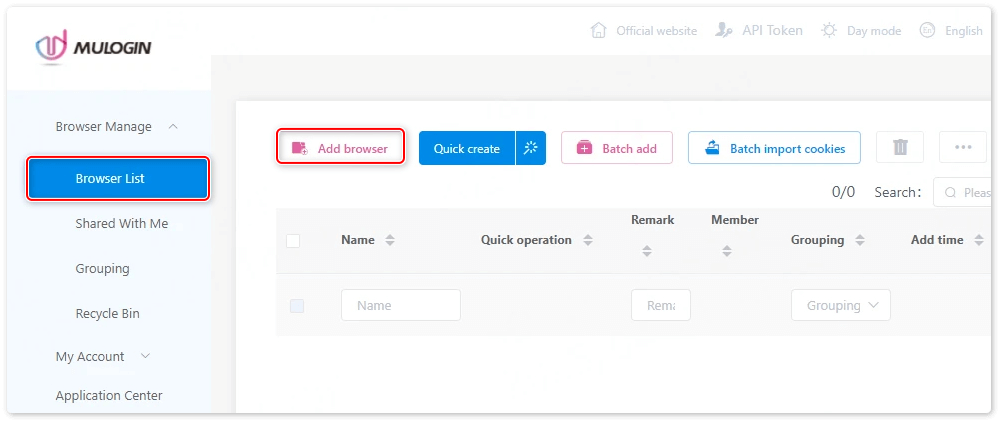
After you register, open the Browser Manage dropdown, click on Browser List, then click Add browser at the top.
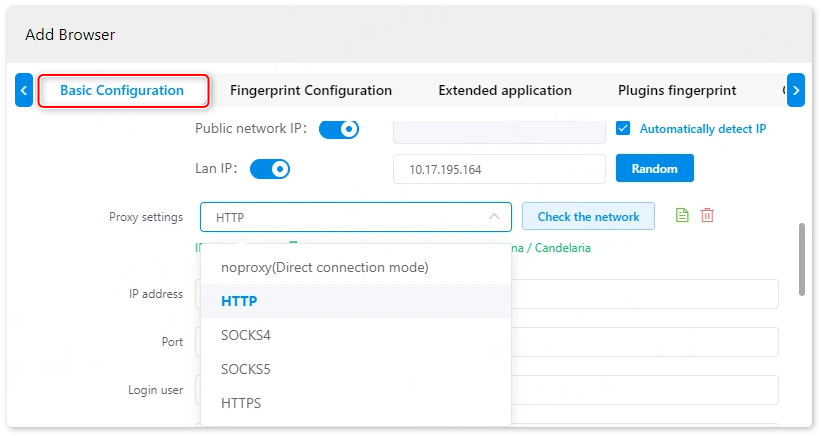
Step 5: Enter proxy credentials
You will enter the Basic Configuration interface. After filling in the Display name and other details, scroll down to Proxy settings and set it to HTTP/HTTPS/Socks5.
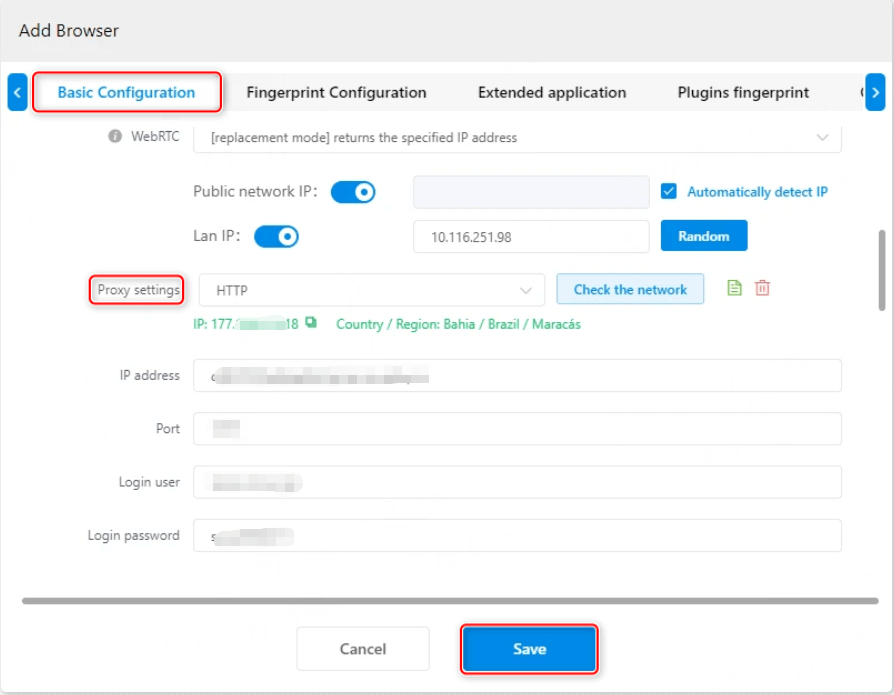
Step 6: Test and save
Paste the proxy information obtained from Ping Proxies (hostname: port:username:password). Click Check the network—if IP information appears, the proxy IP connection is successful. Finally, click Save.
Note: MuLogin does not supply proxies; users must purchase them from external providers. All proxy setup instructions come from third-party services, not from MuLogin itself. Using this software for illegal or unlawful purposes is strictly forbidden, and users bear full responsibility for any consequences.