IPCook Proxy Settings
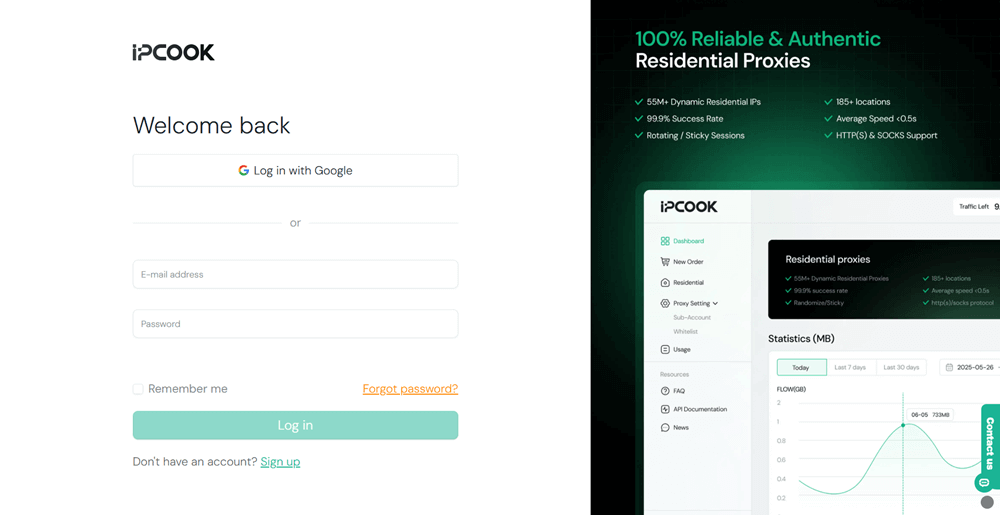
Step 1. Visit IPcook and log in to your account. If you don't have one, click "Sign up" to create one.
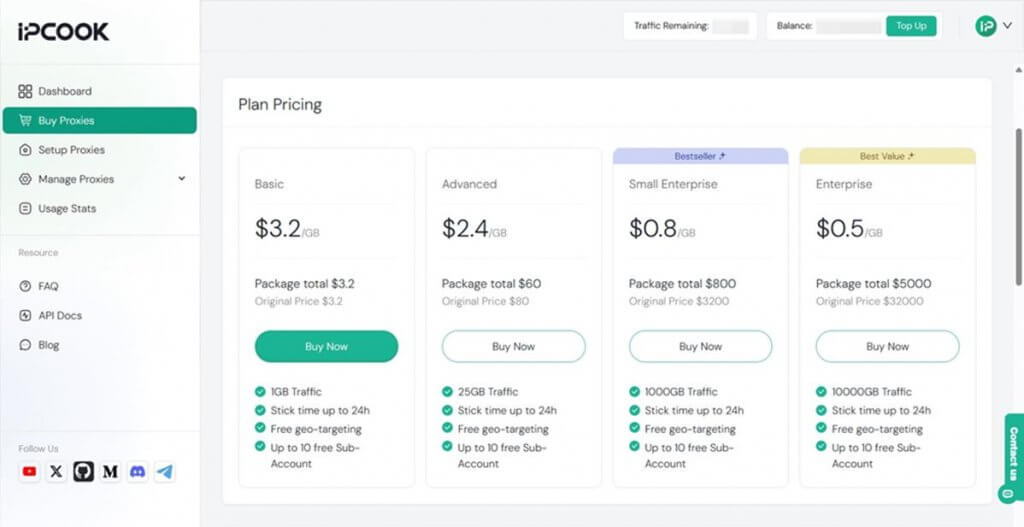
Step 2. After logging in, navigate to the "Buy Proxies" tab on the left sidebar menu. Click "Top Up" to add funds to your account. Then, select a plan that meets your needs in terms of price and data usage. Hit "Buy Now" to finish the payment.
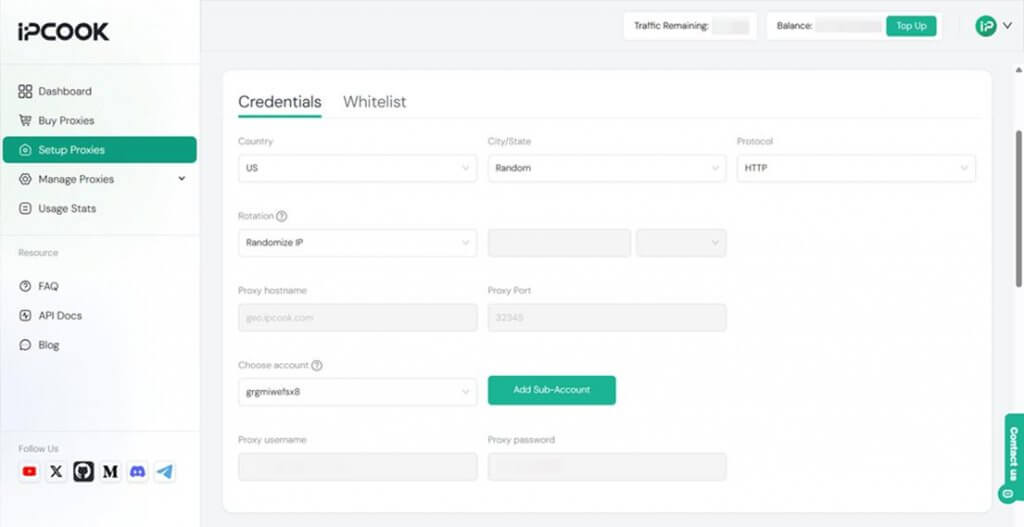
Step 3. Move to the "Setup Proxies" tab. Configure the settings according to your preferences, like country, city/state, protocol, and rotation. Besides, add a sub-account to allocate your data. Then, you will get all the proxy credentials, including hostname, port, username, and password.
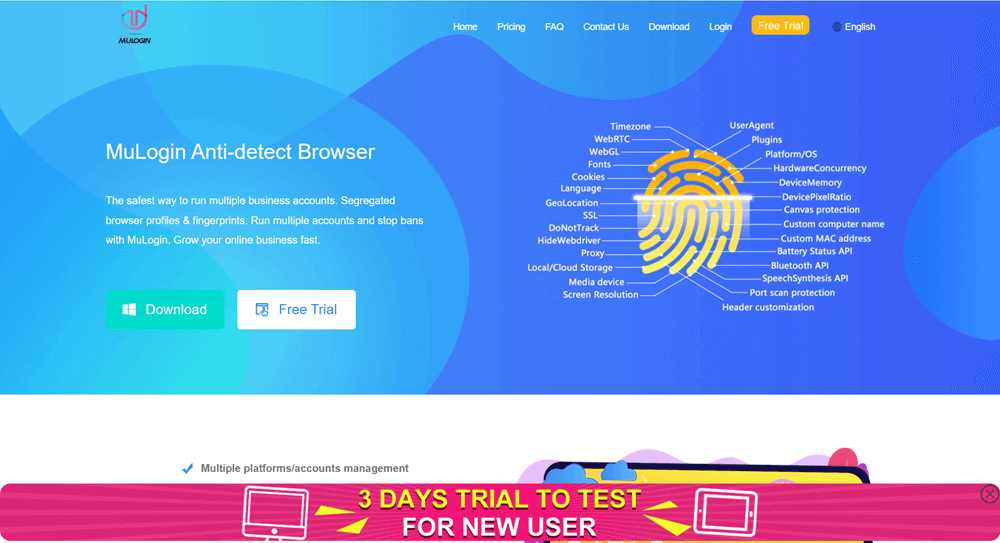
Step 4. Go to the MuLogin official website and sign up for an account. Then, download the application and install it on your computer by following the setup instructions. (Support 3-day Free Trial)
Step 5. Launch Mulogin on your computer. Type in your account and password to log in.
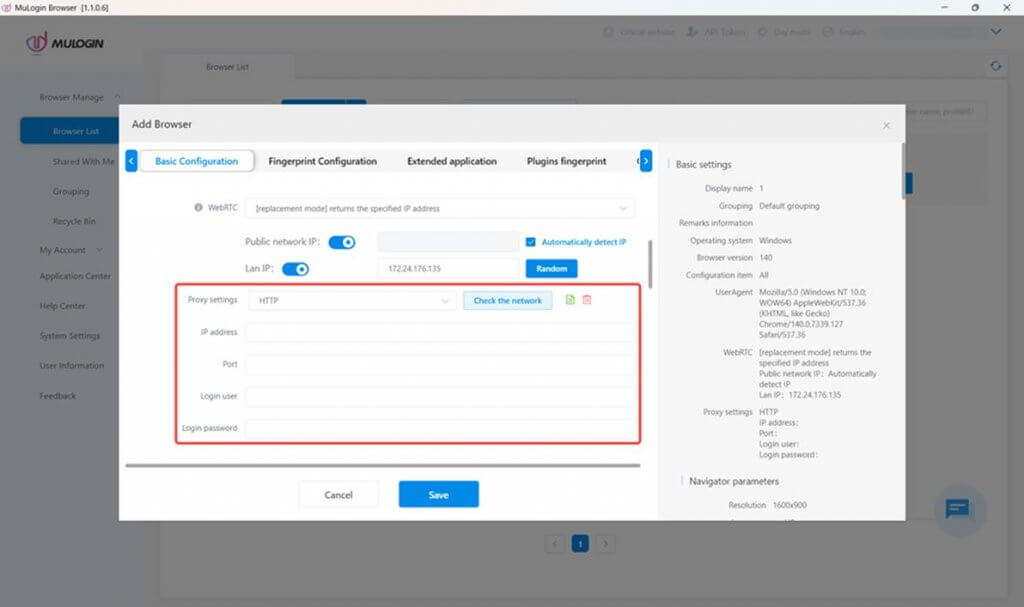
Step 6. On the "Browser List" tab, click "Add browser" to create a new browser profile.

Step 7. In the pop-up window, customize the parameters as you wish, including basic information and browser fingerprints. To set up IPcook proxies, scroll to the proxy section. Click the dropdown menu next to "Proxy settings" to select the proxy protocol you chose on the IPcook dashboard. Then, fill in all the required fields, including IP address, Port, Login user, and Login password. When everything is set, click "Save" to create the profile.
Step 8. The newly created profile will be shown on the "Browser List" tab. Click the "Open" icon to open the browser profile, and you can now browse any website or content online without revealing your own identity.
Note: MuLogin does not supply proxies; users must purchase them from external providers. All proxy setup instructions come from third-party services, not from MuLogin itself. Using this software for illegal or unlawful purposes is strictly forbidden, and users bear full responsibility for any consequences.